Mini Cheese Doughnuts: A Cheesy Delight with a Crispy Twist
Mini Cheese Doughnuts are the perfect bite-sized savoury treat, blending a crispy golden exterior with a gooey, cheesy centre. Ideal for appetisers, party snacks, or a fun twist on traditional doughnuts, these cheesy morsels have rapidly gained popularity among home cooks looking for something both simple and satisfying.
A Brief History of Mini Cheese Doughnuts
While doughnuts are typically associated with sweet flavours, savoury doughnuts have been around for centuries in various forms. The concept of frying dough has roots in cultures worldwide, from ancient Greece to medieval Europe. However, the fusion of cheese into a fried doughnut is a more recent culinary innovation, emerging as part of the global food trend that celebrates unique flavour combinations.
Savoury doughnuts, like Mini Cheese Doughnuts, likely evolved from traditional Italian and French cheese fritters, which were often served as snacks or appetisers. Over time, as deep-frying techniques improved and chefs experimented with flavour profiles, this crispy, cheesy delight was born.
Why Mini Cheese Doughnuts are a Must-Try
These delightful treats appeal to cheese lovers everywhere. The balance between the soft, cheesy filling and the crunchy outer layer creates a perfect contrast that keeps everyone coming back for more. With their miniature size, Mini Cheese Doughnuts are a versatile addition to any meal or gathering. They pair excellently with dipping sauces, from tangy marinara to spicy aioli, making them adaptable to various tastes and preferences.
Making Mini Cheese Doughnuts at Home
One of the best things about Mini Cheese Doughnuts is how easy they are to prepare in your own kitchen. Using a few basic ingredients like flour, eggs, cheese, and seasonings, you can whip up these doughnuts in no time. Chefs often recommend using a combination of sharp and mild cheeses to create a balanced flavor, while herbs and spices can add depth and complexity.
When deep-fried to perfection, these doughnuts come out crisp on the outside while remaining melty and soft in the centre. The recipe can be customised by adding different types of cheeses, herbs, or even filling them with small surprises like jalapeños or caramelised onions.
PrintMini Cheese Doughnuts
- Prep Time: 25
- Cook Time: 45
- Total Time: 1 hour 10 minutes
Ingredients
For the doughnuts
- 250g strong white bread flour plus extra for dusting
- 30g caster sugar
- 3/4 tsp fine sea salt
- 2 medium free-range eggs
- 8g fresh yeast or 4g dried active yeast
- 75ml water
- 65g unsalted butter, softened
- About 2 litres oil (rapeseed/canola, sunflower or corn) for deep frying
For the Cheese Custard
- 2.25 gelatine leaves
- 125g dbl cream
- 100g water
- 62.5g egg yolk
- 42.5 g whole egg
- 100g Bermondsey hard press or other mature cheese plus extra for finishing
- 150g gruyère
Instructions
Method:
- Start the day before or in the morning if you want to eat the doughnuts in the evening.
- Make the doughnut dough: put the flour, sugar, salt, eggs and yeast into the bowl of a stand mixer fitted with a dough hook, start mixing on a low speed and pour in 75ml water (if you don’t have a stand mixer you can do this by hand in a large bowl). Continue mixing until a dough forms. Either, turn up the speed on your mixer to medium and allow it to knead away or, if doing by hand, tip the dough onto your work surface and knead for about 5 minutes. Allow the dough to rest for a minute or two
- Start to add the butter a quarter at a time, kneading it in until it’s all incorporated. Knead the dough for a further 5 minutes until it is smooth and glossy and very elastic when pulled. Return the dough to the bowl, cover with and leave to prove until doubled in size, about 1½ hours.
- Knock back the dough (knead for a minute or two in the bowl to knock out any large air bubbles), re-cover the bowl and chill overnight or for about 8 hours
- On eating day, roll the dough out on a floured surface into a sausage shape and cut the dough into 10g pieces (any bigger and they will be difficult to fit in your mouth!) . Dust a large tray with flour.
- Roll the dough into 10 smooth, tight buns, tucking in the dough underneath and put them on the floured tray, leaving plenty of room for the buns to expand. Spray with an oil spray if you have it and cover lightly with a damp tea towel and leave to prove for about 2 hours or until doubled in size.
- Meanwhile, make the cheese custard: submerge the gelatine leaves in some cold water for 5 minutes.
- Place the water and cream in a small pan and bring to just below simmering. After 5 minutes, remove the gelatine leaves from the water, squeeze them well and set aside.
- Put the yolks into a bowl and whisk. Keep whisking while you pour on the cream and milk. The mixture should coat the back of a spoon.
- Add the gelatine leaves and grated cheese and blend with an hand blender until the gelatine and cheese have melted and the custard is smooth.
- Spoon the custard into a piping bag fitted with a small nozzle or a squeezy bottle and leave to set in the fridge.
- Cook the doughnuts: when the doughnuts have proved, take your custard out of the fridge. Heat the oil in a pan to about 170 degrees c. Carefully remove the proved doughnuts from the tray by sliding a floured dough scraper or spatula underneath, then gently lower into the oil. Don’t overcrowd the fryer – cook 7 or 8 at a time, depending on the size of your pan. Fry for 2 minutes on each side until golden brown.
- Remove the doughnuts from the fryer with a slotted spoon and put on kitchen paper to drain. Repeat until all the doughnuts are fried. Leave to cool slightly so you can handle them.
- Fill the doughnuts: make a hole in the underside of each doughnut slowly pipe a good dollop of custard into each one.
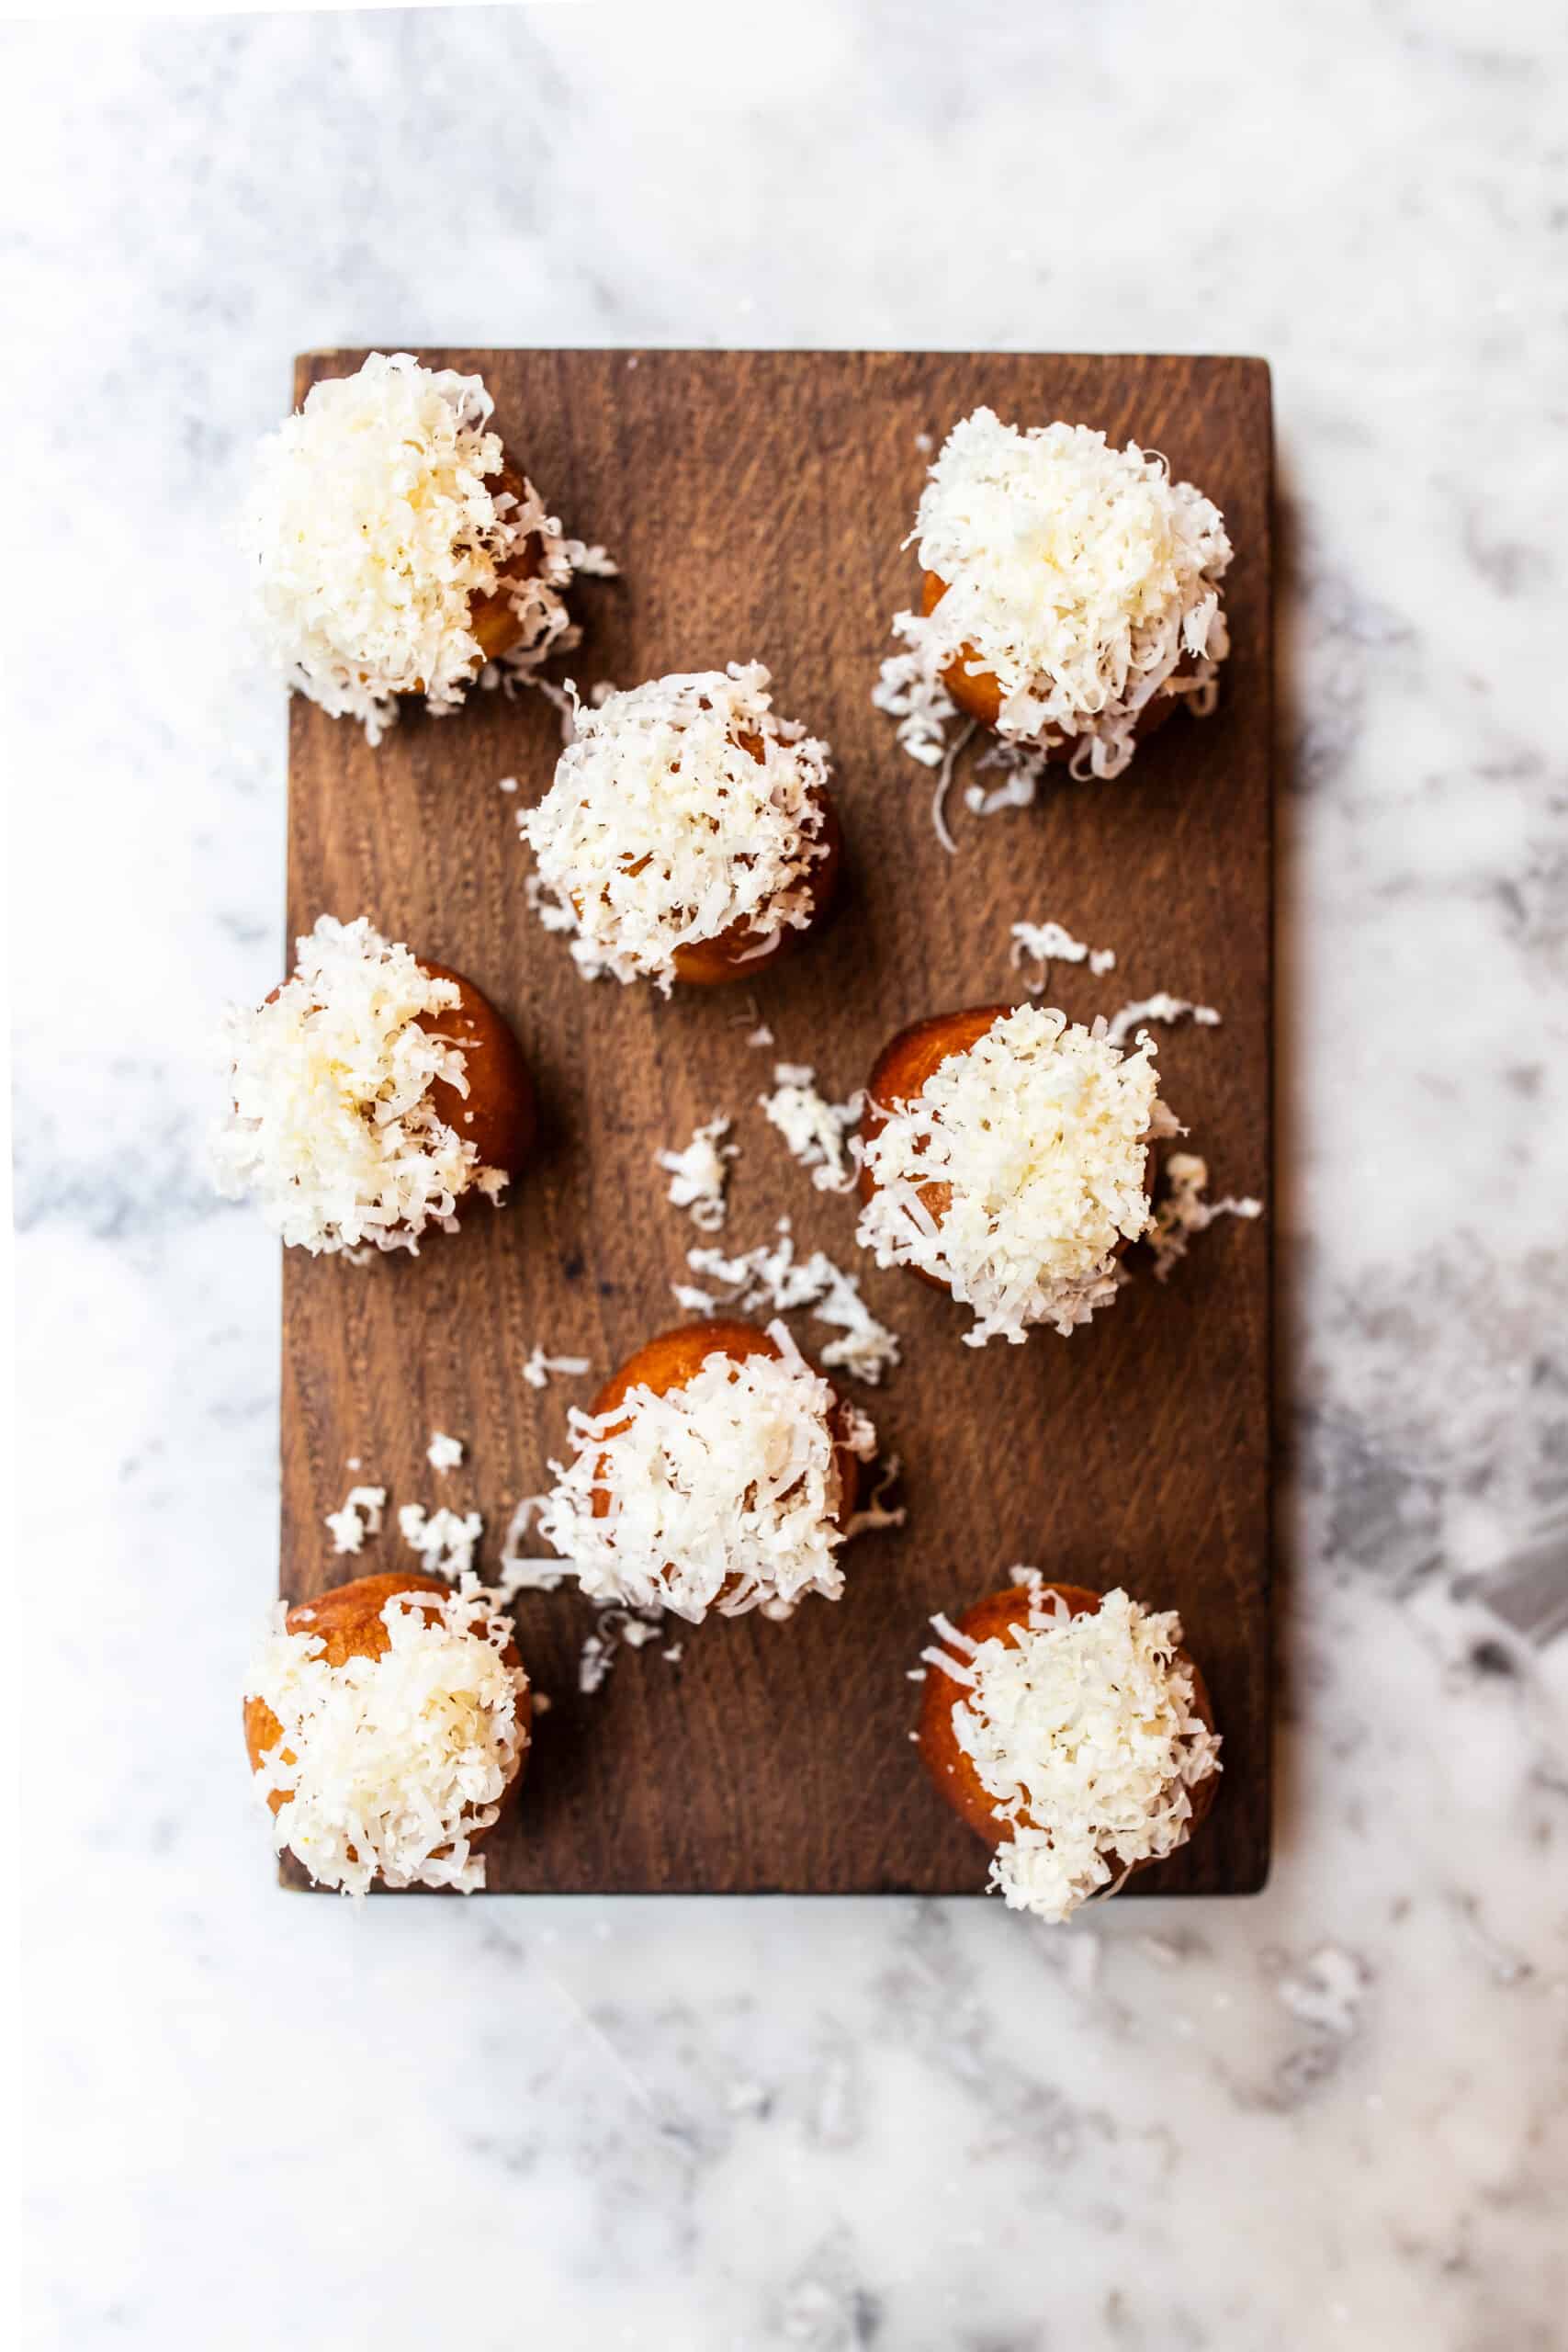
- Grate over a generous amount of cheese and serve.